Creating killer screen recordings for YouTube isn't just about hitting the record button anymore. The real magic happens in post-production, where raw footage transforms into engaging content that keeps viewers glued to their screens.
Our exclusive partnership with Screen Studio gets you a massive 70% off their annual subscription – turning hours of tedious editing into minutes of effortless content creation. Grab this limited-time deal here before it vanishes!
Let's jump into the complete roadmap for editing screen recordings that actually perform on YouTube.
✂️🎬 Why a Polished Edit is a Must for Your YouTube Channel
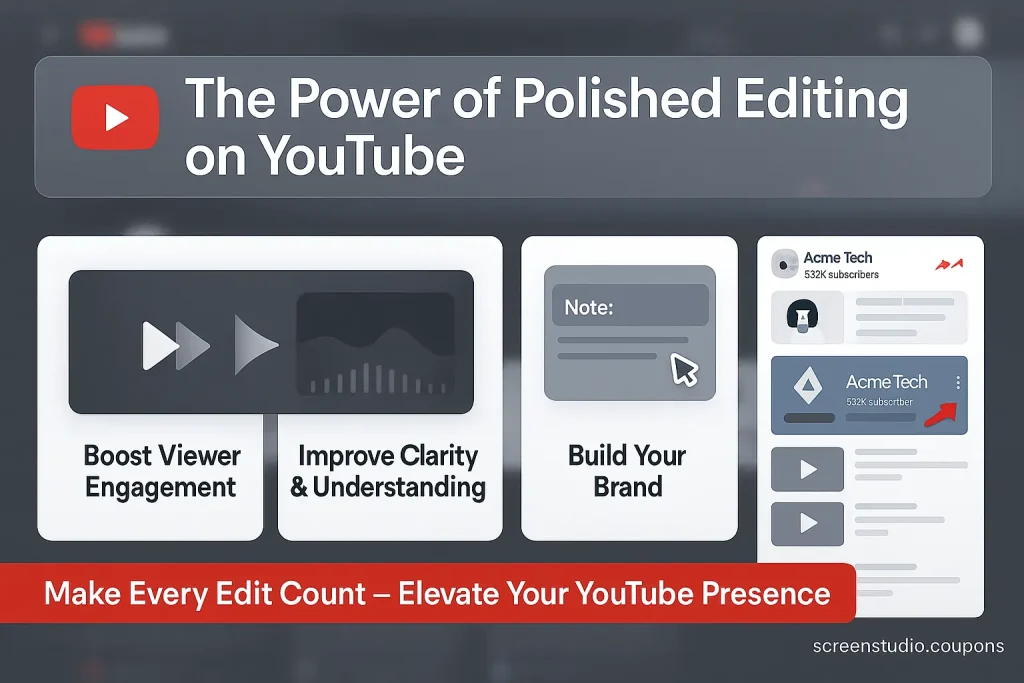
On a platform as crowded as YouTube, first impressions count. A choppy, hard-to-follow screen recording will have viewers clicking away in seconds. A polished, professional-looking video, on the other hand, signals quality and authority.
🎥 The A-to-Z of YouTube Screen Recording Editing
If you're new to editing screen capture videos or looking to refine your process, this is the standard workflow. These are the fundamental steps to turn a raw recording into a YouTube-ready video.
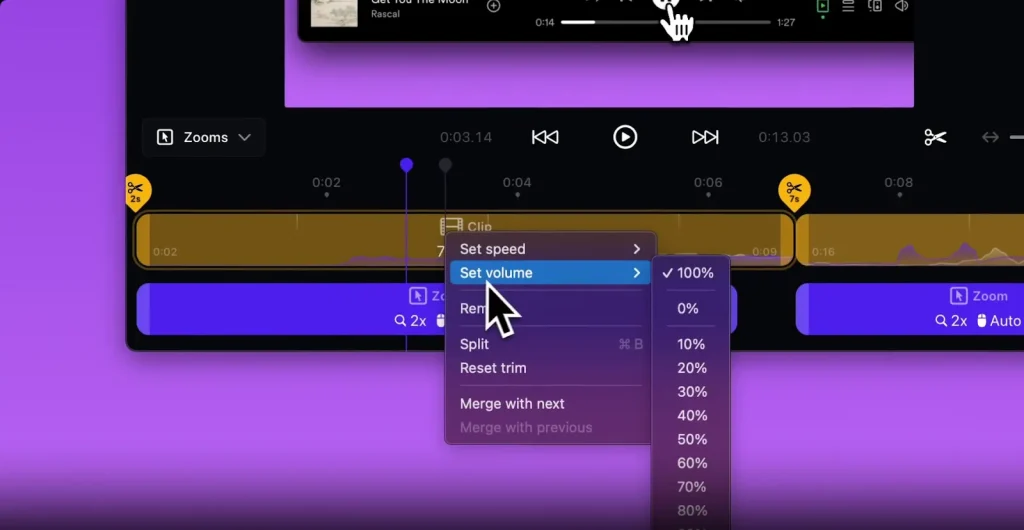
Step 1: Trim the Fat

Your raw recording is probably full of ums, ahs, long pauses, and mistakes. The first job is to clean it up. This is the trimming and splitting phase.
This initial clean-up is crucial. It makes your video tighter, faster-paced, and more professional. Most video editors, from simple online tools to advanced software, handle this with a timeline and a “split” or “razor” tool.youtube
Step 2: Add Text, Callouts, and Graphics
Once your video's timeline is clean, it's time to add elements that provide context and highlight important information. You can't just rely on your cursor to do all the work.
Step 3: Get Your Audio on Point
Bad audio can ruin a great video. Your audience will forgive a slightly blurry image, but they won't stick around for crackling, hard-to-hear audio.
Step 4: Add Visual Polish with Effects and Transitions
This is the final layer of polish. While you don't want to go overboard, a few subtle effects can make a big difference.
This manual process is the standard way to edit screen recordings for YouTube. It works, but it takes time. A lot of time.
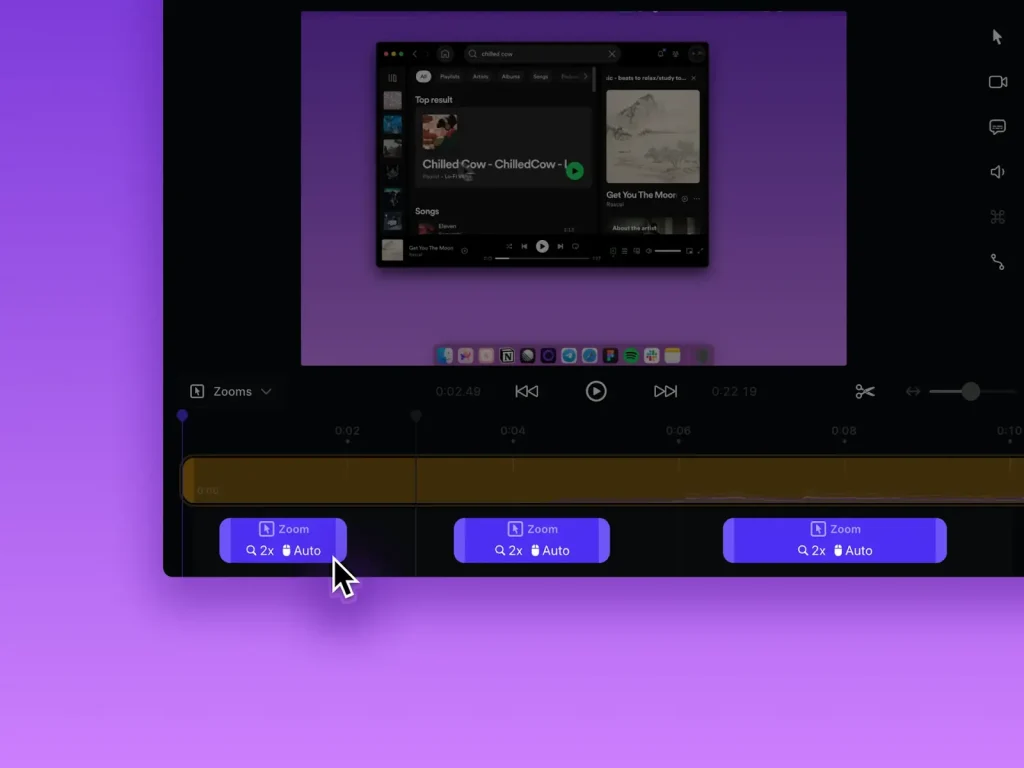
🎞️✨ The Game-Changer: Automate Your Editing with Screen Studio
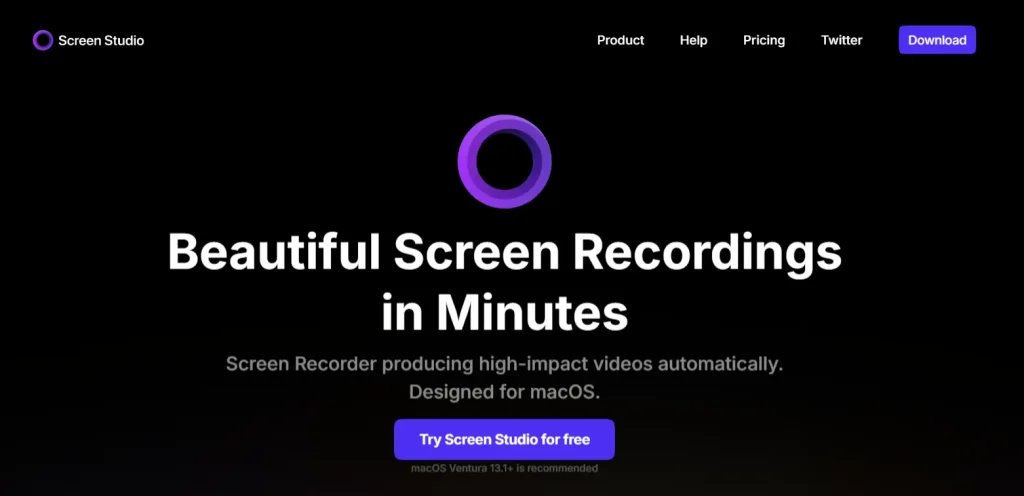
Now, what if you could skip the most tedious parts of that workflow? That's where Screen Studio comes in. This macOS-exclusive software is designed to automate the hard work, reducing editing time by a huge margin and producing beautiful results automatically.
It’s built for creators who want polished, professional results without spending hours in a complex video editor. Here's how it handles the heavy lifting for you:
By automating these tasks, Screen Studio positions itself as the best way to edit screen recordings for many YouTubers. It handles the tedious 80% of the editing process, freeing you up to focus on creating great content.
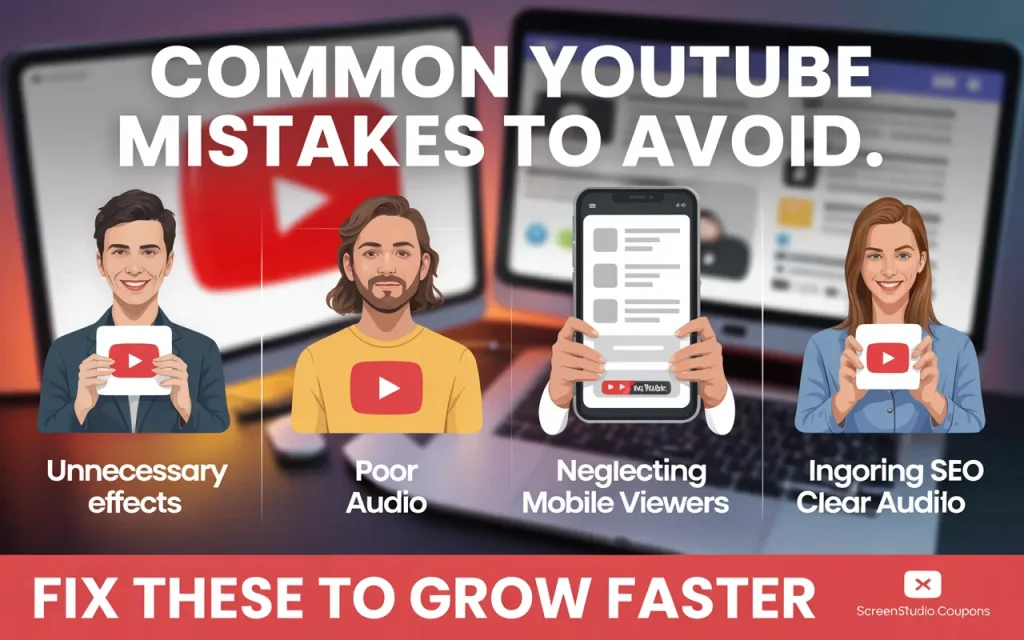
⚠️ Common Mistakes That Kill YouTube Performance
🔍🎬 A Quick Look at Other Editing Tools
While Screen Studio is a fantastic choice for automated, high-quality recordings, it's good to know what else is out there.
Often seen as the powerhouse of screen recording and video editing, Camtasia offers a full-blown editor with a multi-track timeline. It's great for complex projects where you need granular control over every element, but it comes with a steeper learning curve and a higher price tag.
This tool offers a unique approach by letting you edit video by editing a text transcript. It’s particularly strong for its AI-powered audio features, like noise removal and filler word detection. It also includes a screen recorder, making it an interesting all-in-one solution for podcasters and video creators.
🎬⚡ Ready to Supercharge Your Video Editing?
Creating high-quality tutorials for YouTube doesn't have to be a grind. By understanding the core principles of a good edit and using the right tools, you can produce professional content that engages your audience and grows your channel.
While traditional editing workflows give you control, tools like Screen Studio are changing the game by automating the most time-consuming parts of the job. You get a cinematic result with a fraction of the effort.
So, are you ready to ditch the tedious editing and start creating beautiful screen recordings in minutes? Don't miss out on our exclusive 70% discount on Screen Studio. Claim your offer now and take your YouTube tutorials to the next level.